Install dependencies and create the project
You have as we write this tutorial, two ways to create a new project with Qwik :
- Using npm create command
- Using Nx and the qwik-nx plugin
Using npm create command
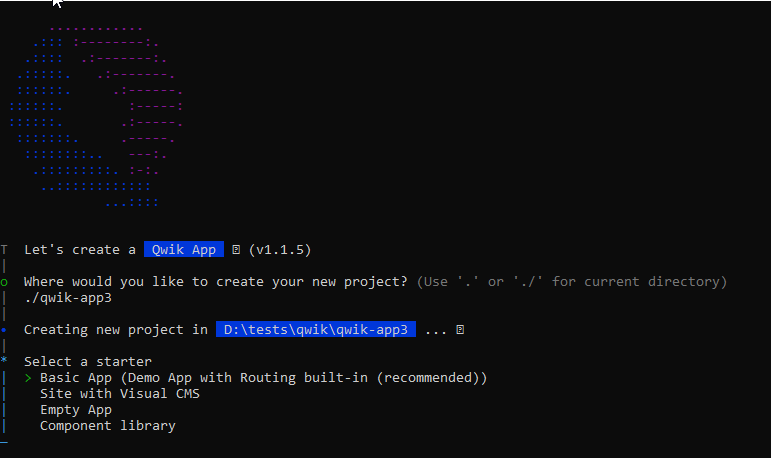
The easiest way to create a new project is to use the npm create command. This command will create a new project with the latest version of Qwik and all the dependencies needed to run it.
npm create qwik@latest
You will be prompted with options to choose from :

We might want to create an Empty App for this tutorial.
Using Nx and the qwik-nx plugin
If you are using Nx, you can use the qwik-nx plugin to create a new project. This plugin will create a new Nx workspace with the latest version of Qwik and all the dependencies needed to run it. You can find the project here : https://github.com/qwikifiers/qwik-nx
npx create-nx-workspace@latest my-workspace --preset=qwik-nx
Run the application
Development server
Depending on your install, you have the following options
- With npm create
- With Qwik Nx
npm start
yarn start
pnpm start
The commands are handled by Nx, and can be found in the apps/my-app/project.json file.
nx run my-app:serve
With the correct plugin installed in your IDE, you can run the commands in GUI.
- Plugin for VSCode : https://marketplace.visualstudio.com/items?itemName=nrwl.angular-console
- Plugin for Intellij IDEA : https://plugins.jetbrains.com/plugin/15101-nx-console-idea

Build the application for production
- With npm create
- With Qwik Nx
npm preview
yarn preview
pnpm preview
nx run my-app:preview
The application structure
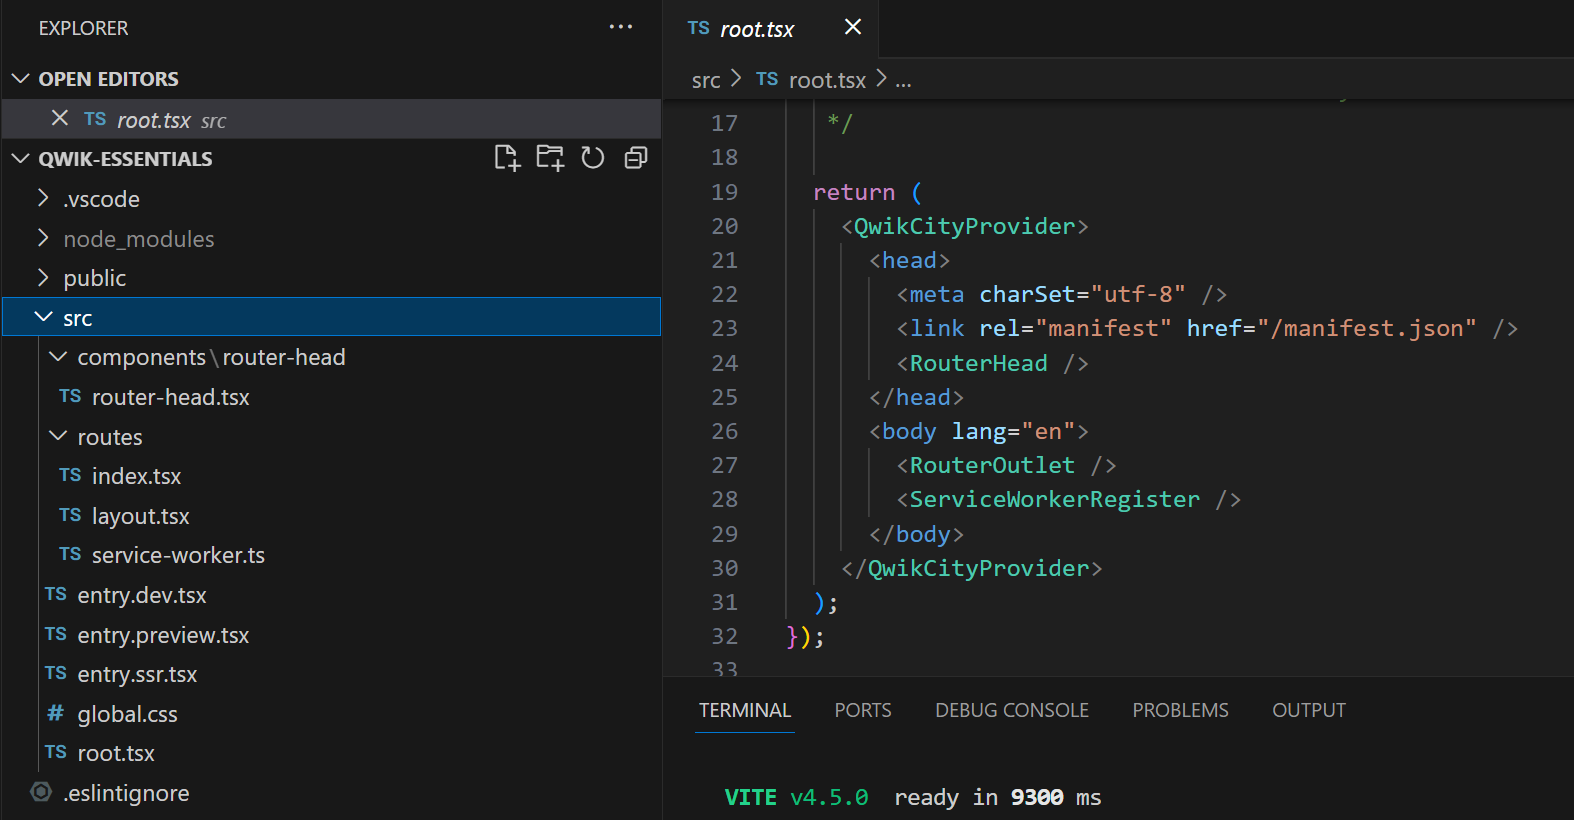
Depending on the choice you made, you will have a different structure for your application. We will start from the empty application and add our components.

We choose a basic application with the QwikCity library pre installed. We will discuss this topic later.